Home>Articles>Acquisition of Aplaceforusblog Home Decor Blog


Articles
Acquisition of Aplaceforusblog Home Decor Blog
Published: February 14, 2024
Aplaceforusblog.com joins Storables, blending home decor inspiration with practical storage solutions for a stylish, organized living space.
(Many of the links in this article redirect to a specific reviewed product. Your purchase of these products through affiliate links helps to generate commission for Storables.com, at no extra cost. Learn more)
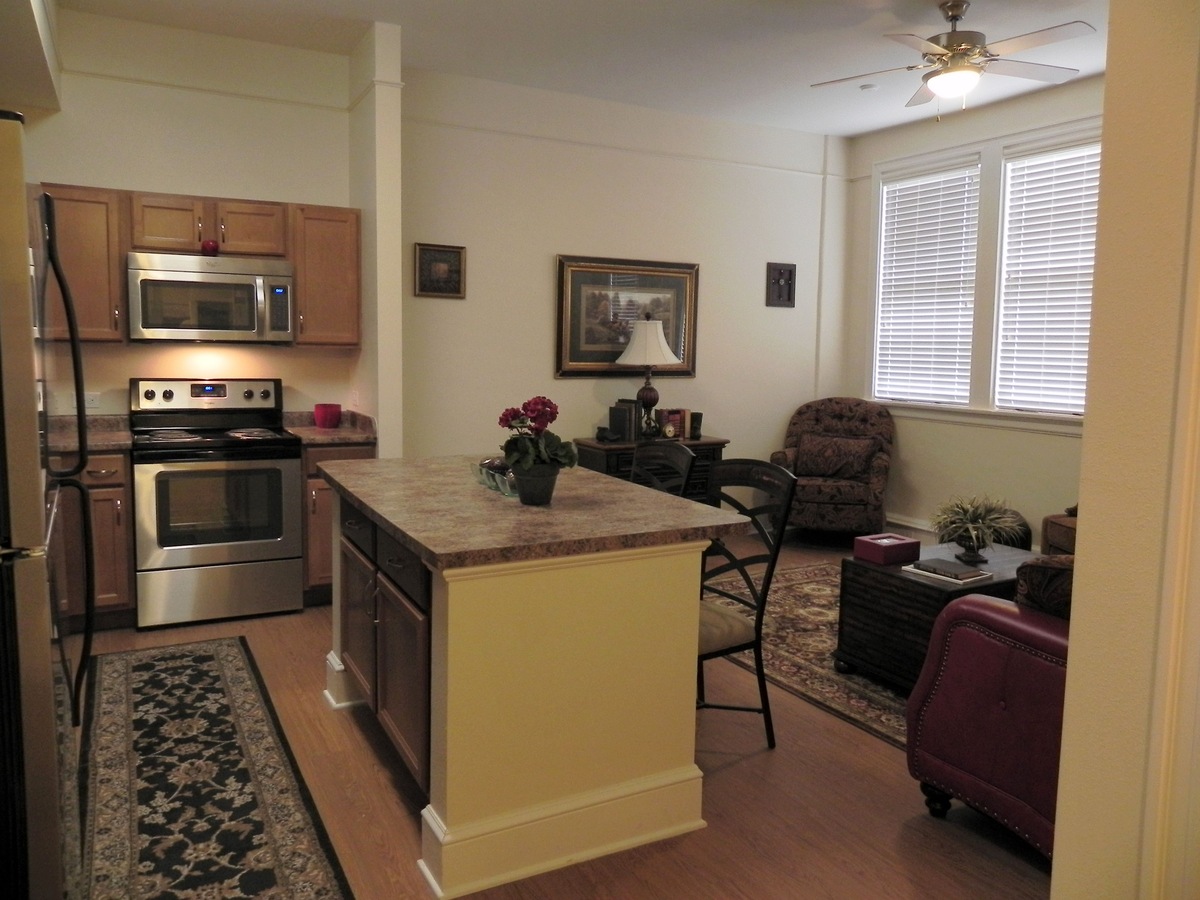
Aplaceforusblog.com, renowned for its heartfelt insights into home decor, family life, and personal growth, embarks on a new journey with its acquisition by Storables, a leader in home organization solutions. This partnership signifies Storables’ intent to diversify its content, merging the warmth of home styling and family narratives with the practicality of organizing spaces. Future content may blend Destiny’s keen eye for design and nurturing family environments with Storables’ expertise in decluttering and space optimization, offering readers a rich tapestry of inspiration for both the soul and the home.
Anticipate a delightful blend of content, where tips for creating a harmonious, organized home merge with engaging stories of family and lifestyle. The union is poised to offer readers a unique perspective: how organized spaces can enhance family life and personal well-being. Expect to find inspiring articles on home decor, family-friendly organization hacks, and lifestyle advice that resonates with the modern family. This strategic amalgamation could redefine how we view and incorporate organization into our daily lives, making it not just a task but a key component of a joyous family environment.
- IKEA Room Divider Ideas: 9 Clever Ways To Arrange Your Space – Explore 9 ingenious IKEA room divider solutions to maximize and redefine your living spaces with style and efficiency. These clever ways offer both privacy and aesthetic appeal, transforming any area into a multifunctional and organized environment.
- Where To Buy Garage Door Skins – Discover the top sources for high-quality garage door skins to upgrade your home’s curb appeal and functionality. This guide helps you find the perfect match to refresh your garage door without the need for a complete replacement.
- How Much Space Is Needed For A Stacked Washer Dryer – Learn the essential dimensions required for installing a stacked washer and dryer, ensuring a perfect fit for your laundry space. This article provides valuable insights into optimizing your area for convenience and efficiency.
- 20 Portable Closet Choices For Easy Set-Up And Cleaning – Choose from 20 portable closets for effortless assembly and maintenance, enhancing storage in any room. These selections offer a range of styles and sizes, making it easy to keep your belongings organized and accessible.
- What Is The Best Inflatable Hot Tub To Buy – Find out which inflatable hot tub offers the best mix of quality, relaxation, and value for your backyard oasis. This guide compares features, prices, and user reviews to help you make the best purchase.
- 35 Stunning Bathroom Storage Over Toilet Ideas – Get inspired by 35 brilliant ideas for over-toilet storage, making the most of bathroom space with stylish and practical solutions. These designs help you organize essentials while maximizing your bathroom’s aesthetic appeal.
- 13 Amazing Self Heating Hot Pot for 2024 – Experience convenience and warmth with 13 innovative self-heating hot pot options for delicious meals in 2024. Perfect for quick, tasty dining, these hot pots offer a range of flavors and are ideal for busy lifestyles.
- How High Should Toilet Paper Holder Be – Understand the optimal height for installing a toilet paper holder for functionality and accessibility in any bathroom. This article provides guidelines and tips to ensure your bathroom setup is both practical and user-friendly.
- How To Clean A Cuisinart Coffee Machine – Follow these simple steps to maintain and clean your Cuisinart coffee machine for the perfect brew every time. Learn how to keep your coffee maker in top condition, enhancing the flavor of your coffee and extending the life of your machine.
- How To Use A Farberware Air Fryer – Master the art of using a Farberware Air Fryer with tips for crispy, healthy cooking without the excess oil. This guide covers everything from basic operations to advanced cooking techniques, ensuring delicious results.
- 8 Best Pink Microwave Oven for 2024 – Review the 8 best pink microwave ovens of 2024, combining style and functionality for a pop of color in your kitchen. These microwaves not only make a statement but also offer the latest in cooking technology for quick and easy meals.
Was this page helpful?
At Storables.com, we guarantee accurate and reliable information. Our content, validated by Expert Board Contributors, is crafted following stringent Editorial Policies. We're committed to providing you with well-researched, expert-backed insights for all your informational needs.


0 thoughts on “Acquisition of Aplaceforusblog Home Decor Blog”